
Table of Contents
728x90
첫번쨰 방법. 일반적인 Git Clone 명령어
git을 설치, 내 git이메일주소와 gitusername을 셋팅, repo를 clone.
명령어 실행 시 GitHub 계정의 비밀번호 대신 GitHub 개인 액세스 토큰을 입력해야 할 수 있다.
apt-get update
apt install -y git
git --version
git config --global user.email "git-mail@gmail.com"
git config --global user.name "git-username"
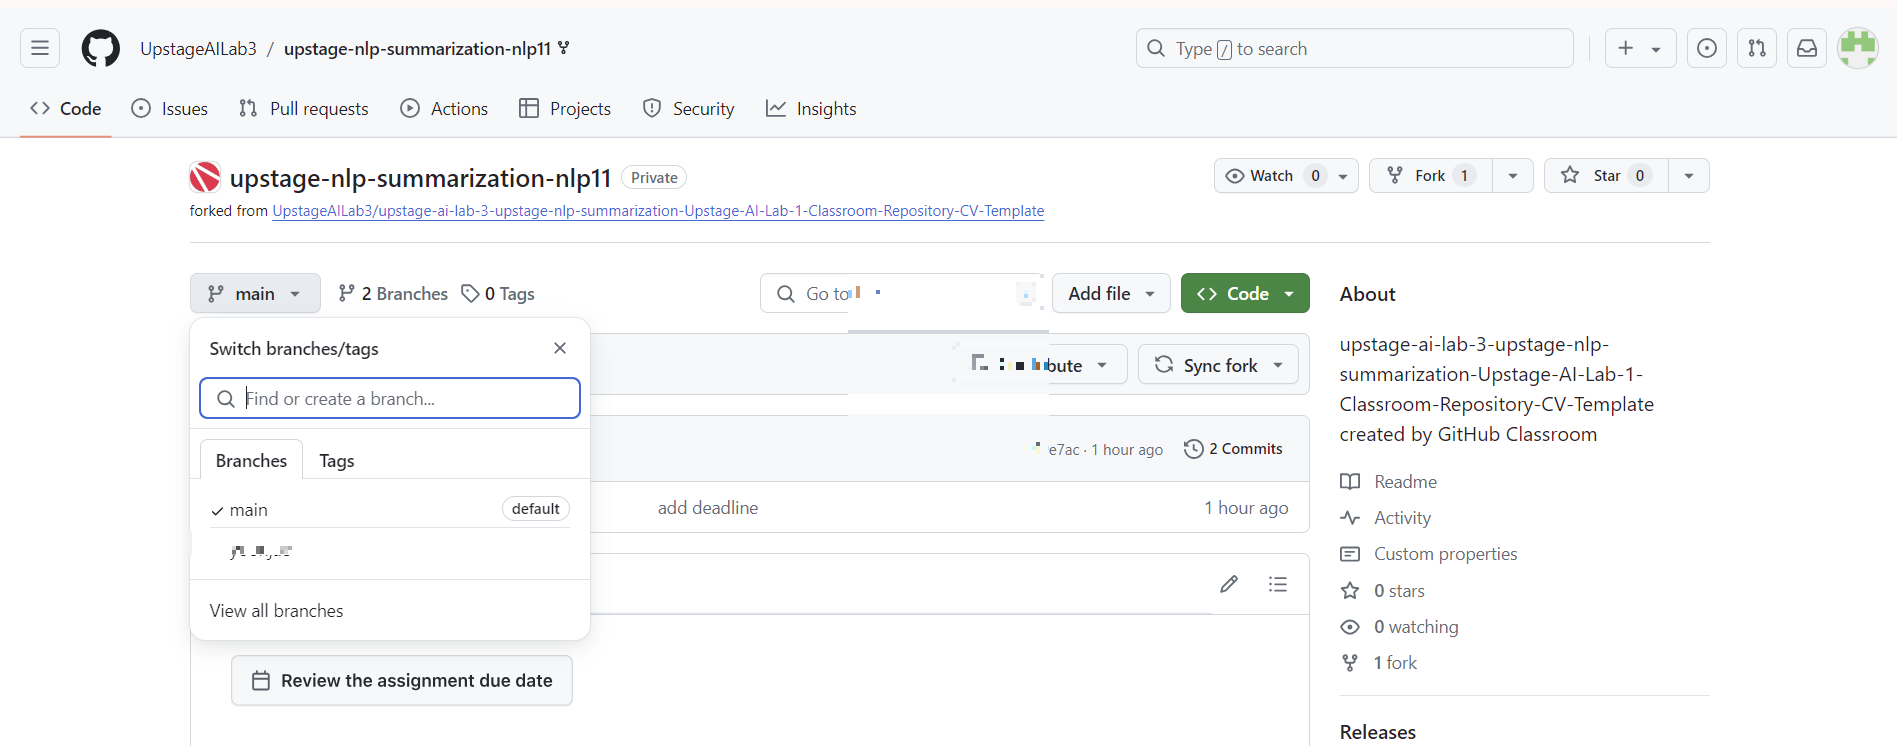
git clone https://github.com/UpstageAILab3/upstage-nlp-summarization-nlp11.gitrepo주소는 <>Code 를 클릭하고 복사하기 버튼을 누르면 된다.

다음과 같이 진행하면 나의 브랜치도 만들어진다.
# 현재 상황 확인
pwd
ls #git 주소가 폴더로 생성됐을 것임, 그곳으로 가자
cd upstage-nlp-summarization-nlp11/
git branch #현재 어느 브랜치에 있는지 확인

-------------------------------------------------
root@instance-9781:~# pwd
/data/ephemeral/home
root@instance-9781:~# ls
data  notebook  upstage-nlp-summarization-nlp11
root@instance-9781:~# cd upstage-nlp-summarization-nlp11/
root@instance-9781:~/upstage-nlp-summarization-nlp11# git branch
* main
-------------------------------------------------

# 공동작업을 위한 나만의 브랜치 생성
git checkout -b mybranch #새 브랜치 생성
git branch -a #브랜치 생성 확인
git add .
git commit -m "Add my new feature"
git push -u origin mybranch
두번째 방법, 개인 액세스 토큰을 사용한 Git Clone 명령어
이 방식은 명령어 실행 시 로그인 정보를 요구하지 않는다. 이미 액세스 토큰이 URL에 포함되어 있기 때문에 추가 인증 과정 없이 바로 저장소에 액세스할 수 있다.
git에서 개인토큰을 얻으러 가보자. Settings > Developer Settings > Personal access tokens > tokens(classic)
나는 no expriation date로 설정했다. 컴퓨터 환경셋팅을 자주 해야해서 그렇게 만들었다.
# GitHub 개인 액세스 토큰 생성
- GitHub 로그인: 먼저 GitHub 계정으로 로그인합니다.
- Settings 접근: 오른쪽 상단에 있는 프로필 사진을 클릭한 다음, 드롭다운 메뉴에서 "Settings"를 선택합니다.
- Developer settings 이동: "Settings" 페이지의 왼쪽 사이드바 하단에 있는 "Developer settings"를 클릭합니다.
- Personal access tokens 선택: "Developer settings" 메뉴에서 "Personal access tokens"을 선택합니다. 그리고 "Tokens" 탭을 클릭합니다.
- New personal access token 생성: "Generate new token" 버튼을 클릭합니다.
- 토큰 설정:
- Note: 토큰의 용도를 설명하는 이름을 입력합니다.
- Expiration: 토큰의 유효기간을 선택합니다. 예를 들어, 30일, 60일, 90일 또는 'No expiration' 중에서 선택할 수 있습니다.
- Scopes: 토큰이 접근할 수 있는 권한을 설정합니다. 필요한 작업에 따라 다르게 설정할 수 있으며, 예를 들어 리포지토리에 접근하려면 'repo'를 선택합니다.
- Generate token: 설정을 완료했다면, 페이지 하단에 있는 "Generate token" 버튼을 클릭합니다.
- 토큰 저장: 토큰이 생성된 후에는 화면에 한 번만 표시되므로 반드시 안전한 곳에 복사하여 저장합니다. 이 토큰은 다시 볼 수 없으므로 분실하지 않도록 주의해야 합니다.
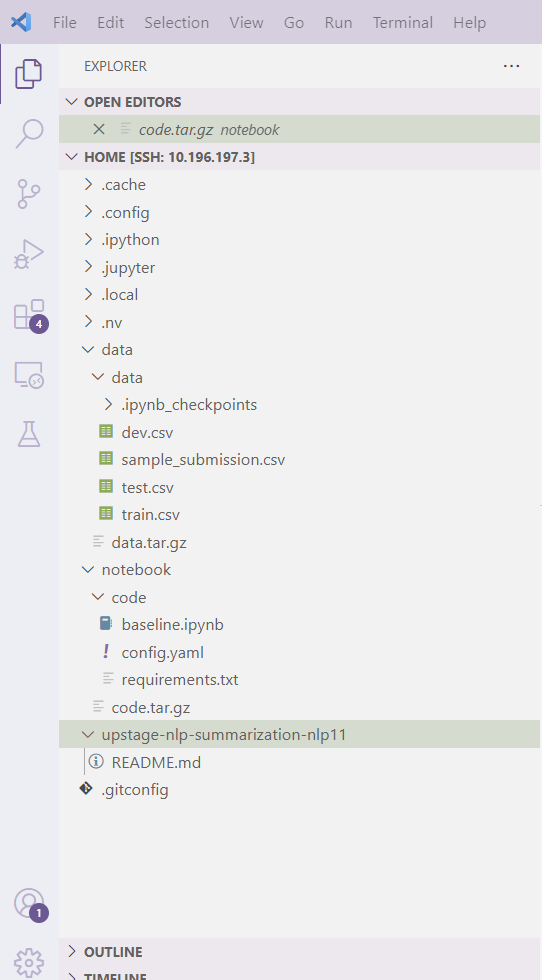
토큰을 만들었으면 VSCode에서 git과 연동해야 한다.
# git 설치
apt-get update
apt install -y git
git --version

# git repo clone
git clone https://{개인 토큰}@github.com/UpstageAILab3/upstage-cv-classification-cv11.git

# 현재 상황 확인
pwd
ls #git 주소가 폴더로 생성됐을 것임, 그곳으로 가자
cd upstage-nlp-summarization-nlp11/
git branch #현재 어느 브랜치에 있는지 확인

-------------------------------------------------
root@instance-9781:~# pwd
/data/ephemeral/home
root@instance-9781:~# ls
data  notebook  upstage-nlp-summarization-nlp11
root@instance-9781:~# cd upstage-nlp-summarization-nlp11/
root@instance-9781:~/upstage-nlp-summarization-nlp11# git branch
* main
-------------------------------------------------

# 공동작업을 위한 나만의 브랜치 생성
git checkout -b mybranch #새 브랜치 생성
git branch -a #브랜치 생성 확인
git add .
git commit -m "Add my new feature"
git push -u origin mybranch
git push까지 마치면 git 웹페이지에서 나의 branch가 만들어진 것을 볼 수 있다.
# Git에 내 파일 올리기
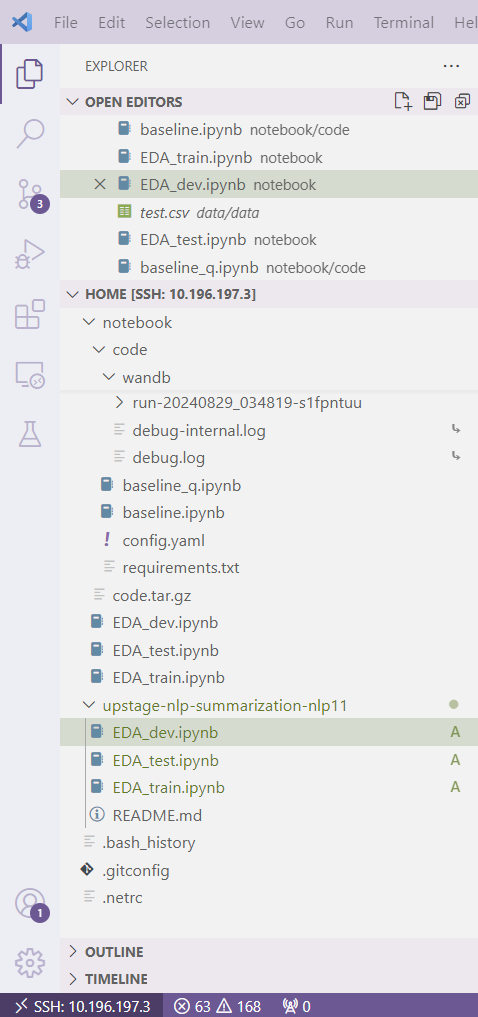
VSCode에서 보이는 git repo 에 내 로컬 파일 복사해서 붙여넣고 add, commit, push하기
root@instance-9781:~# pwd
/data/ephemeral/home
root@instance-9781:~# cd upstage-nlp-summarization-nlp11/
root@instance-9781:~/upstage-nlp-summarization-nlp11# git status
On branch mybranch
Your branch is up to date with 'origin/mybranch'.

nothing to commit, working tree clean

root@instance-9781:~/upstage-nlp-summarization-nlp11# git add .
root@instance-9781:~/upstage-nlp-summarization-nlp11# git commit -m "0830 update"
[yoonjae a9646b4] 0830 update
 3 files changed, 2397 insertions(+)
 create mode 100644 EDA_dev.ipynb
 create mode 100644 EDA_test.ipynb
 create mode 100644 EDA_train.ipynb

root@instance-9781:~/upstage-nlp-summarization-nlp11# git push origin mybranch
Enumerating objects: 6, done.
Counting objects: 100% (6/6), done.
Delta compression using up to 48 threads
Compressing objects: 100% (5/5), done.
Writing objects: 100% (5/5), 203.02 KiB | 11.94 MiB/s, done.
Total 5 (delta 0), reused 0 (delta 0)
To https://github.com/UpstageAILab3/upstage-nlp-summarization-nlp11.git/
   019e7ac..a9646b4  mybranch -> mybranch
root@instance-9781:~/upstage-nlp-summarization-nlp11#'Python' 카테고리의 다른 글
| 엑셀에서 한글이 깨져 보이는 이유, 인코딩 (0) | 2024.09.09 |
|---|---|
| Readme.md 파일 작성법 (5) | 2024.08.31 |
| [Git] branch 보호설정 (0) | 2024.08.29 |
| [Git] Github Organization 만들기 (0) | 2024.08.28 |
| RuntimeError: Numpy is not available (0) | 2024.07.25 |
250x250
공지사항
최근에 올라온 글
최근에 달린 댓글
- Total
- Today
- Yesterday
링크
TAG
- Array
- git
- Numpy
- 티스토리챌린지
- recursion #재귀 #자료구조 # 알고리즘
- 오블완
- Hugging Face
- LLM
- t5
- LIST
- 코딩테스트
- #패스트캠퍼스 #패스트캠퍼스ai부트캠프 #업스테이지패스트캠퍼스 #upstageailab#국비지원 #패스트캠퍼스업스테이지에이아이랩#패스트캠퍼스업스테이지부트캠프
- 해시
- 리스트
- cnn
- speaking
- Python
- Github
- 파이썬
- classification
- Transformer
- clustering
- English
- PEFT
- nlp
- #패스트캠퍼스 #UpstageAILab #Upstage #부트캠프 #AI #데이터분석 #데이터사이언스 #무료교육 #국비지원 #국비지원취업 #데이터분석취업 등
- 손실함수
- #패스트캠퍼스 #패스트캠퍼스AI부트캠프 #업스테이지패스트캠퍼스 #UpstageAILab#국비지원 #패스트캠퍼스업스테이지에이아이랩#패스트캠퍼스업스테이지부트캠프
- RAG
- Lora
| 일 | 월 | 화 | 수 | 목 | 금 | 토 |
|---|---|---|---|---|---|---|
| 1 | 2 | 3 | 4 | 5 | ||
| 6 | 7 | 8 | 9 | 10 | 11 | 12 |
| 13 | 14 | 15 | 16 | 17 | 18 | 19 |
| 20 | 21 | 22 | 23 | 24 | 25 | 26 |
| 27 | 28 | 29 | 30 |
글 보관함